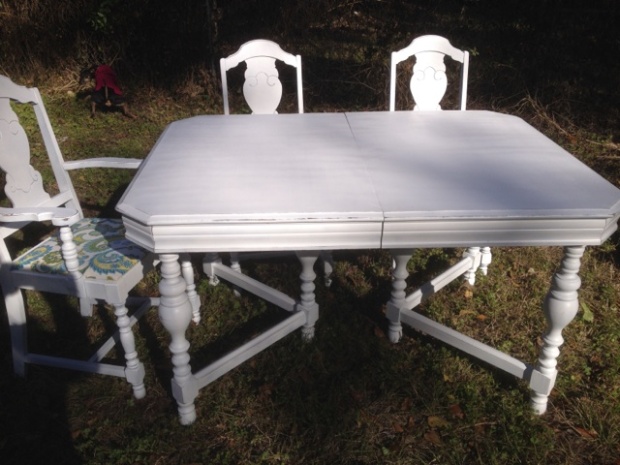
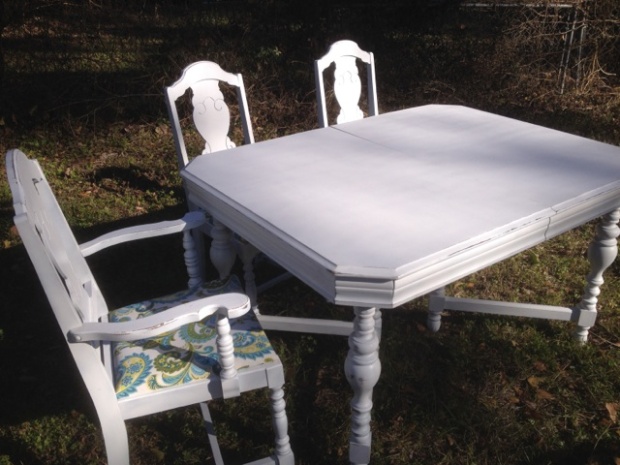
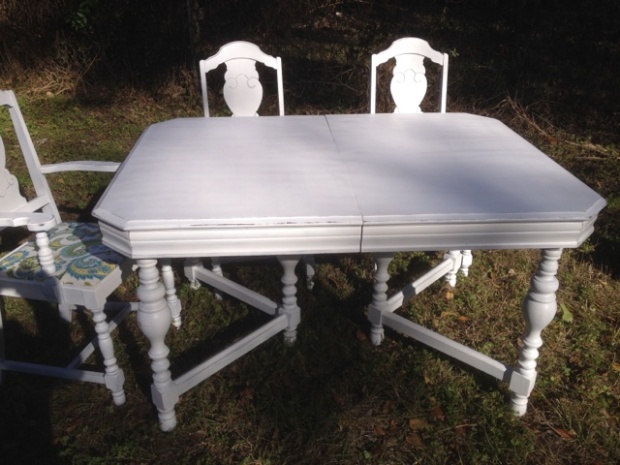
This beautiful wood table set came with 2 leaves and 6 chairs. After purchasing this set from a local antique dealer, it was time to revamp her and make her more adorable. She came with great bones, great details, wood was in good shape, although she needed a major cleaning. After several hours of cleaning, began the sanding process. Due to the detailing on the legs, it was sanding via electric sander but also a major amount of hand sanding. After curing for many days, three layers of primer was applied to the table, both the leaves, and all 6 chair bases.
The seats of the chairs were gently removed and all original hardware saved. It took a while to choose just the right fabric, but this lively pattern was found and we knew it was the one. While firming up the chairs and padding, it was time to recover the chairs. After several weeks of the primer curing, it was time for 6 coats of a lovely creamy, white color to revamp the table. There were approximately 2-3 days of curing of the paint in-between the layers. After drying time, a clear, non-yellowing top coat was applied in four layers. Each layer required curing/drying time.
Then was the next step. Distressing. Hand distressing with several different levels of sandpaper grit. This process lovingly took a few days. Distress for a while, step away and come back to it the next day to start again. After distressing, it was time to clean off any residue from distressing. After a day to settle, it was time to add two more layers of clear, non-yellowing top coat with time for curing/drying in-between each layer. Now she is happier in her new frocks.


